
I thought some folks might want to see the steps I go through in making one of those fancy cutting boards, so I took some photos while I was making one. You have to guess at the design as we go along….
So…first things first…..we need music.

For today I have chosen some Paul Simon, but listen to whatever you want.
Now….I suppose….we need some kind of plan. So scribble some stuff down if you’re into that kind of thing.

My handwriting is sort of like a code. It works for me.
Now I will cut a bunch of rough stock to about 28″ in length, which means I will be able to make two identical boards with very little extra work.
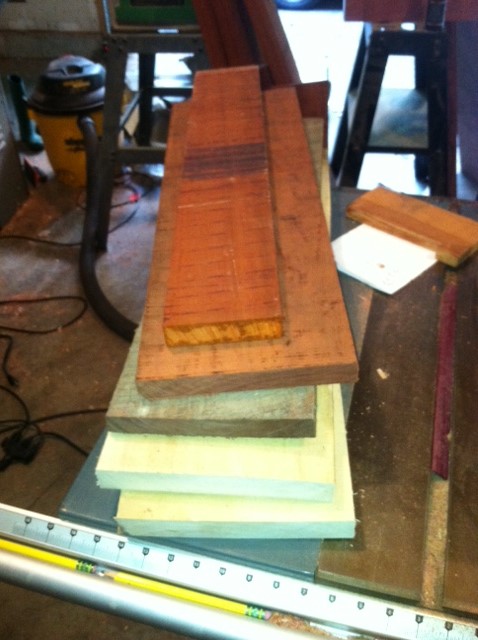
This is (top to bottom) padauk, bloodwood, walnut, and sycamore
Then I run those boards through my planer to get them all to the same thickness. FunFact…bloodwood is super hard so the planer is deafening when you run it through.
smooth and pretty!
Next I look back at my handy dandy scribble sheet and I can easily see how many boards I need and at what width they should be. Before cutting to final width, I joint one side of each full size board because gaps are where the devil lives.

Got them all cut…still have my fingers…hooray!
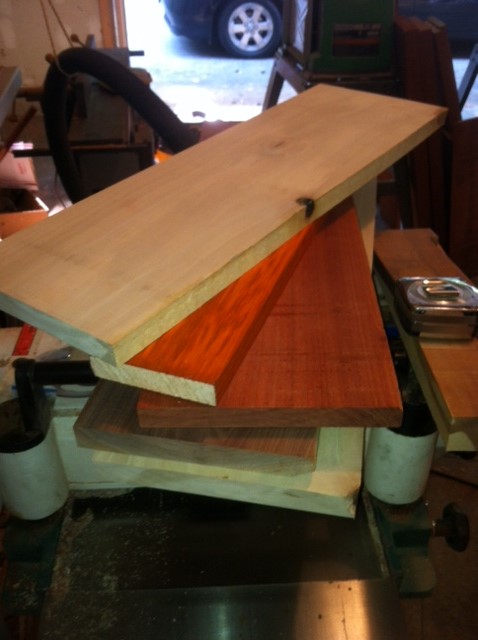
With the boards cut it’s time to make sure the idea is feasible….

Yep, that’s pretty much what I was looking for.
So then we just glue our three boards up, clamp them good, and wait 24 hours.
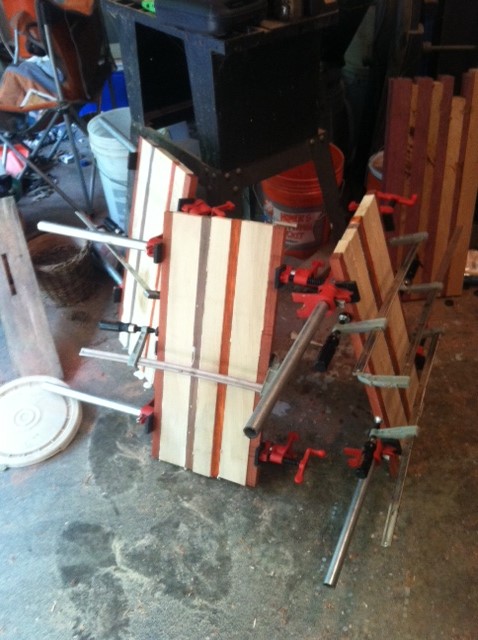
I really should clean my shop up, but that’s winter work!
After 24 hours the glue is fully hardened. In order to make a perfectly fitting end-grain board, these three boards need to be planed dead flat and also the exact same thickness as each other. So they get run through the planer again.
After that, it’s time for final slices! To get cuts without any burring or splintering along the cut edge, you really need a nice crosscut blade.

a crosscut sled helps a whole bunch too.
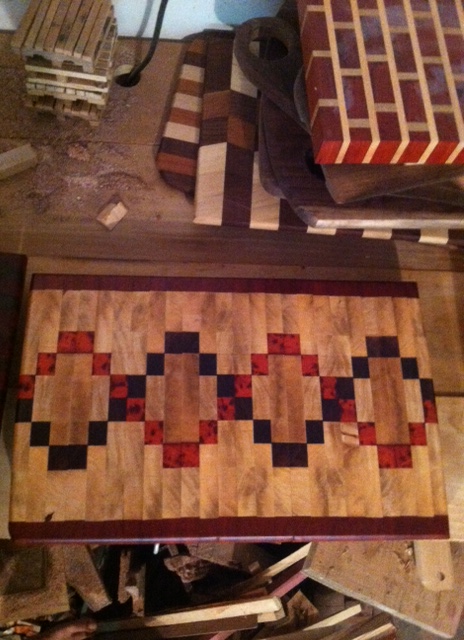
With all three boards cut to the same width, all we have to do is flip them onto the end-grain and start assembling the pattern.
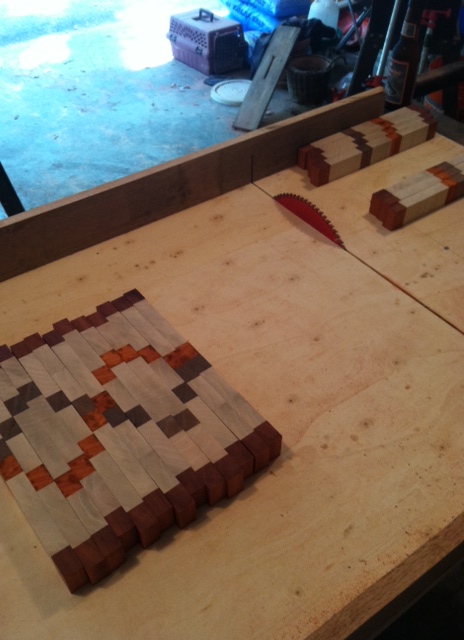
See the pattern yet?
Once we have the pattern set, we very very carefully align everything and then glue it and clamp it another time.

This is just before the final glue up. It’s a double helix!
After 24 hours it’s time to take it out of the clamps yet again. Glue will have bubbled up in places and hardened and no matter how careful you were certain boards have raised a millimeter or two. Cutting boards need to be flat, so flatten the end-grain however you see fit. some people use a planer (a subset of these people then break their planer), some people use a router, some crazy folks just sand it flat (which takes a very very long time), other have a drum sander(which I really want to buy).
After it’s flattened all that is left is some finish sanding to make it silky smooth and then apply a finish like mineral oil, beeswax, salad bowl finish, or any other product out there. They each have positives and negatives, I usually grab a bottle of whatever is closest to me, which is either mineral oil or salad bowl finish.
It’s all done!
If you have any other questions about how to make these, please drop me a line in the comments section or bring over a six pack of Ruination IPA (and something for yourself if you want) and I will run through the whole process again.


Darn…I was going to ask what kind of beer and how much but you already answered it. Is your choice available at your honey hole there in Eureka?
Certainly!
beautiful work on the cutting board. I’d almost drive / fly to the brewery of choice and bring you a case of their finest to engage in another board. Or just to drink!